Using Interactive Development Environments (Jupyter, VS Code)
Table of Contents
Desktop Environment
OpenOnDemand's desktop environment allows you to use applications through a graphical interface (GUI).
Main Uses:
- Using GUI-based software such as GaussView
- Intuitive file operations using file manager
Starting a Session
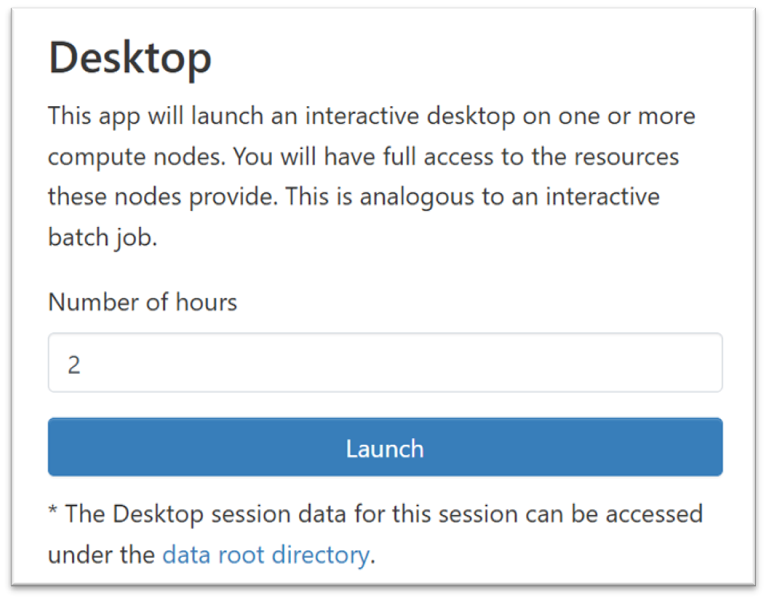
- Click the "Desktop" icon from the dashboard
- Configure the following in the session settings:
- Number of hours: Specify usage time - Click the [Launch] button
- Once session preparation is complete, click [Launch Desktop]
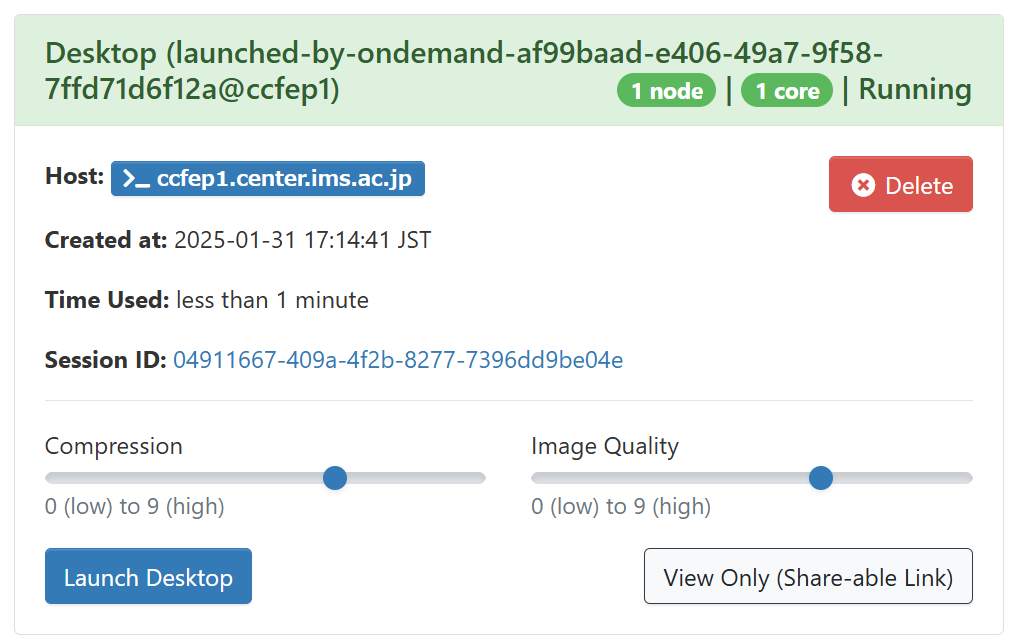
Session Management
- Running desktop sessions can be viewed in "My Interactive Sessions" on the dashboard
- To end a session, click "Delete" for the corresponding session in "My Interactive Sessions"
Important Notes
- Sessions are maintained even if you accidentally close the browser tab. You can reconnect via "Launch Desktop"
- Sessions automatically end after the specified usage time
- Please end sessions promptly after use for efficient resource utilization
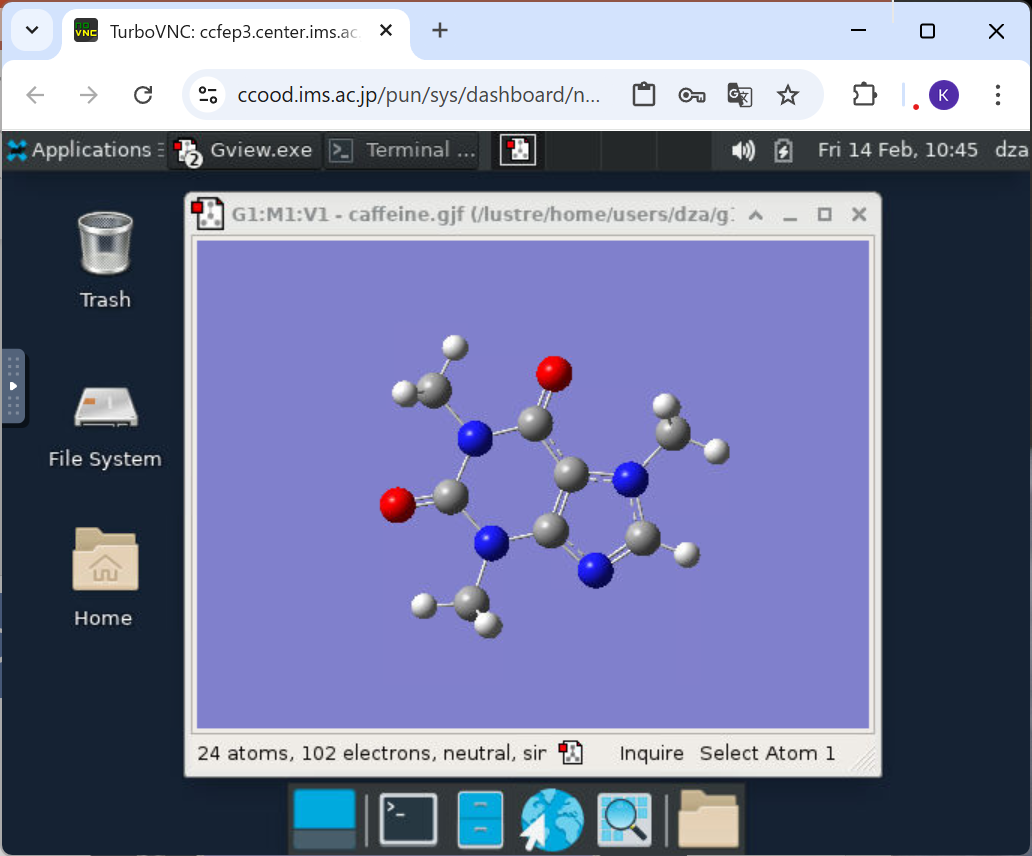
Using GaussView
You can launch GaussView using the OpenOnDemand desktop environment.
How to Launch GaussView
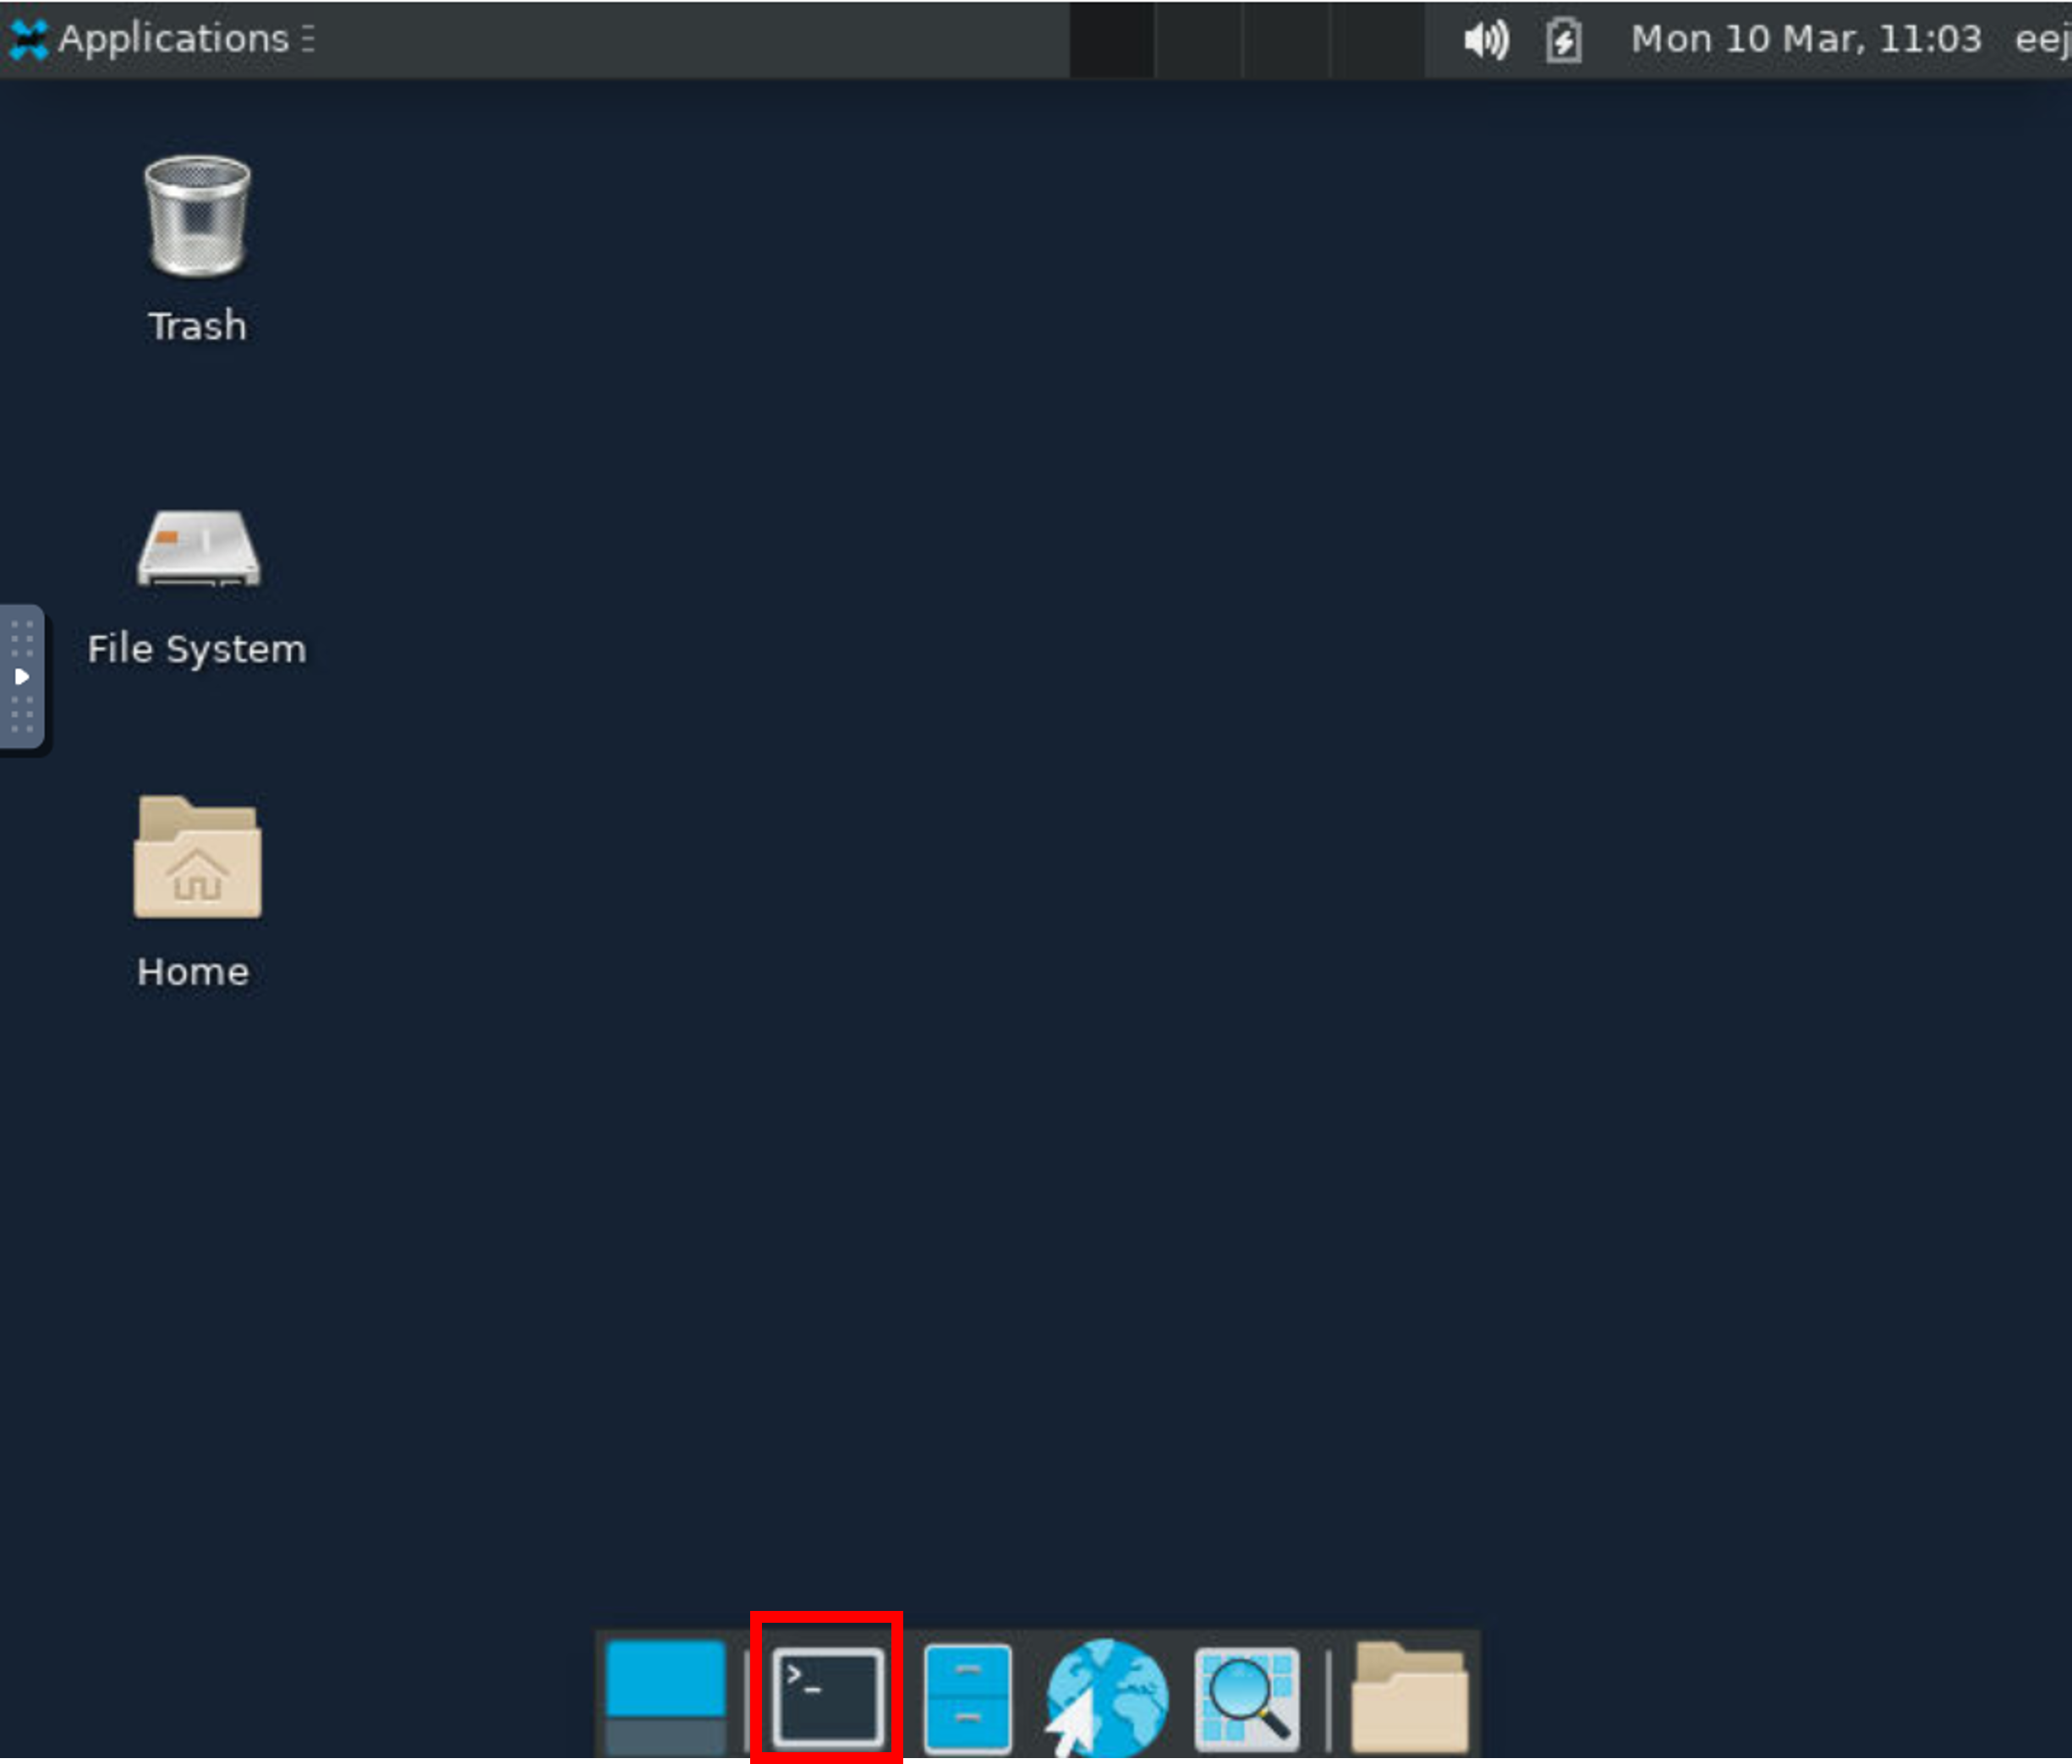
- Log in to the OpenOnDemand desktop environment
- Open a terminal on the desktop
Enter the following command to launch GaussView:
gview6
- The GaussView main window will appear
Jupyter Notebook
Jupyter Notebook is an interactive development environment that allows you to combine program code, execution results, and explanatory text in a single notebook format. It supports various programming languages, including Python.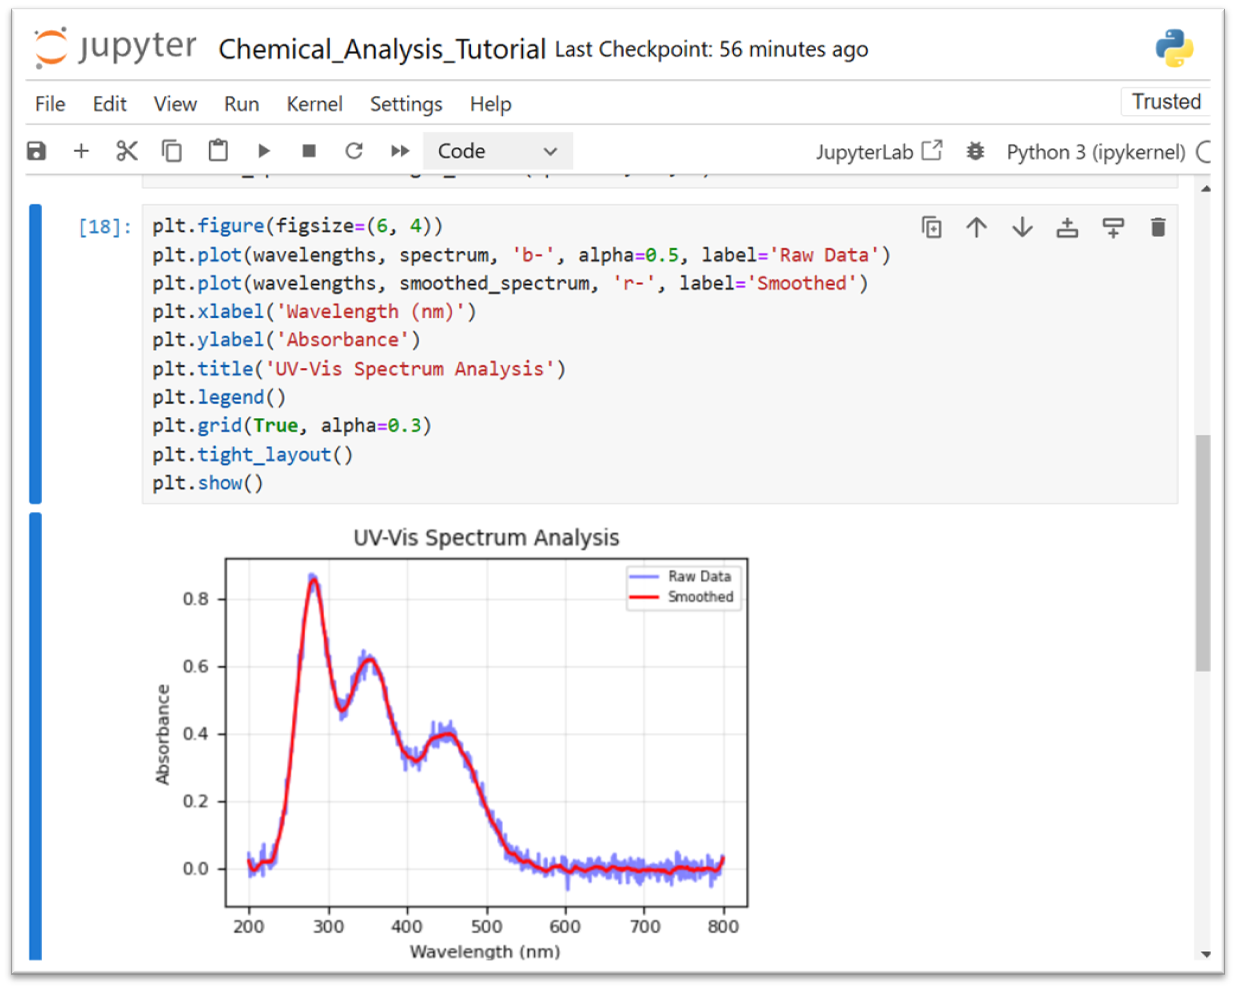
Basic Usage
Starting a Session
Click the "Jupyter Notebook" icon from the OpenOnDemand dashboard
- Specify the following in the settings screen:
- Number of hours: Session duration (in hours) - Click the "Launch" button
- Once ready, click "Connect to Jupyter"
- Jupyter environment opens in a new tab
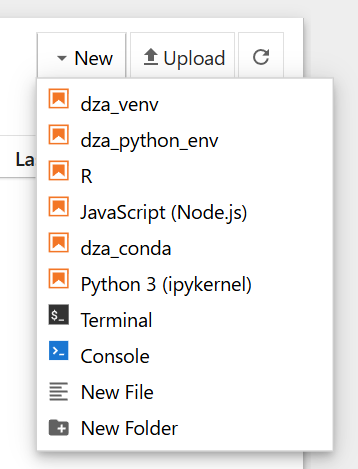
Creating a New Notebook
- Click the "New" button in the top right
- Select programming language/runtime environment:
- Choose desired environment from the list
- Default is "Python3 (ipykernel)": Python 3.10 environment from /apl/conda/20240305
Note: You can switch to a different runtime environment from the menu in the top right even after creation.
Additional note: The runtime environment selected here is called a "kernel". Custom environment setup is explained in the "Customizing Python Environment" section.
Basic Notebook Operations
About Cells
Notebooks consist of blocks called "cells". There are several types:
- Code: Area for writing and executing programs
- Markdown: Area for explanatory text (can be formatted using Markdown)
- Raw: Area for plain text without formatting
Basic Operations
Cell Operations:
- Add new cell: [+] button at top
- Change cell type: Select "Code", "Markdown", etc. from toolbar dropdown
- Execute cell: Shift + Enter (or ▶ button)
- Code: Program executes and displays results
- Markdown: Formatted text is displayed - Select cell: Click cell (blue border appears)
Other Operations:
- Save file: Ctrl + S or save icon at top
- Delete cell: Select cell and press D key twice
- Check execution order: View numbers on left side of cells
Customizing Python Environment
Default Environment
Default Python environment (Python 3.10) from /apl/conda/20240305 is available
* All Python packages installed in this environment are ready to use
Steps to Add Custom Environment
To use your own Python environment in Jupyter, follow these steps in the shell.
When using the system Python:
# Install the required package
pip3 install ipykernel# Register it as a Jupyter kernel
python3 -m ipykernel install --user --name python3.6 --display-name "Python 3.6"
For Conda environments:
# Create and activate the environment
conda create -n myenv python=3.10 # Choose environment name and Python version
conda activate myenv# Install the required packages
conda install ipykernel # Kernel for Jupyter
conda install <required-package-names># Register it as a Jupyter kernel
python -m ipykernel install --user --name myenv --display-name "My Python Env"
For venv environments:
# Create and activate the environment
python -m venv myenv
source myenv/bin/activate# Install the required packages
pip install ipykernel
pip install <required-package-names># Register it as a Jupyter kernel
python -m ipykernel install --user --name myenv --display-name "My Python Env"
Once registered, the added kernel will be available for selection in Jupyter.
Important Notes
- You can reconnect through "My Interactive Sessions" if you accidentally close the browser tab
- Sessions automatically end after the specified usage time
VS Code (Code Server)
VS Code is a feature-rich code editor that enables efficient programming and text editing. It integrates essential development features including file editing, program execution, and debugging.
Basic Usage
Starting a Session
- Click "Code Server" icon from OpenOnDemand dashboard
- Specify in settings screen:
- Number of hours: Specify session time (in hours)
- Working Directory: Specify working directory
* Default is home directory ($HOME)
* Can select different directory with "Select Path" button
- Codeserver Version:Select version
* Latest version (4.8) recommended unless otherwise needed - Click "Launch" button
- Once ready, click "Connect to VS Code" → VS Code environment opens in new tab
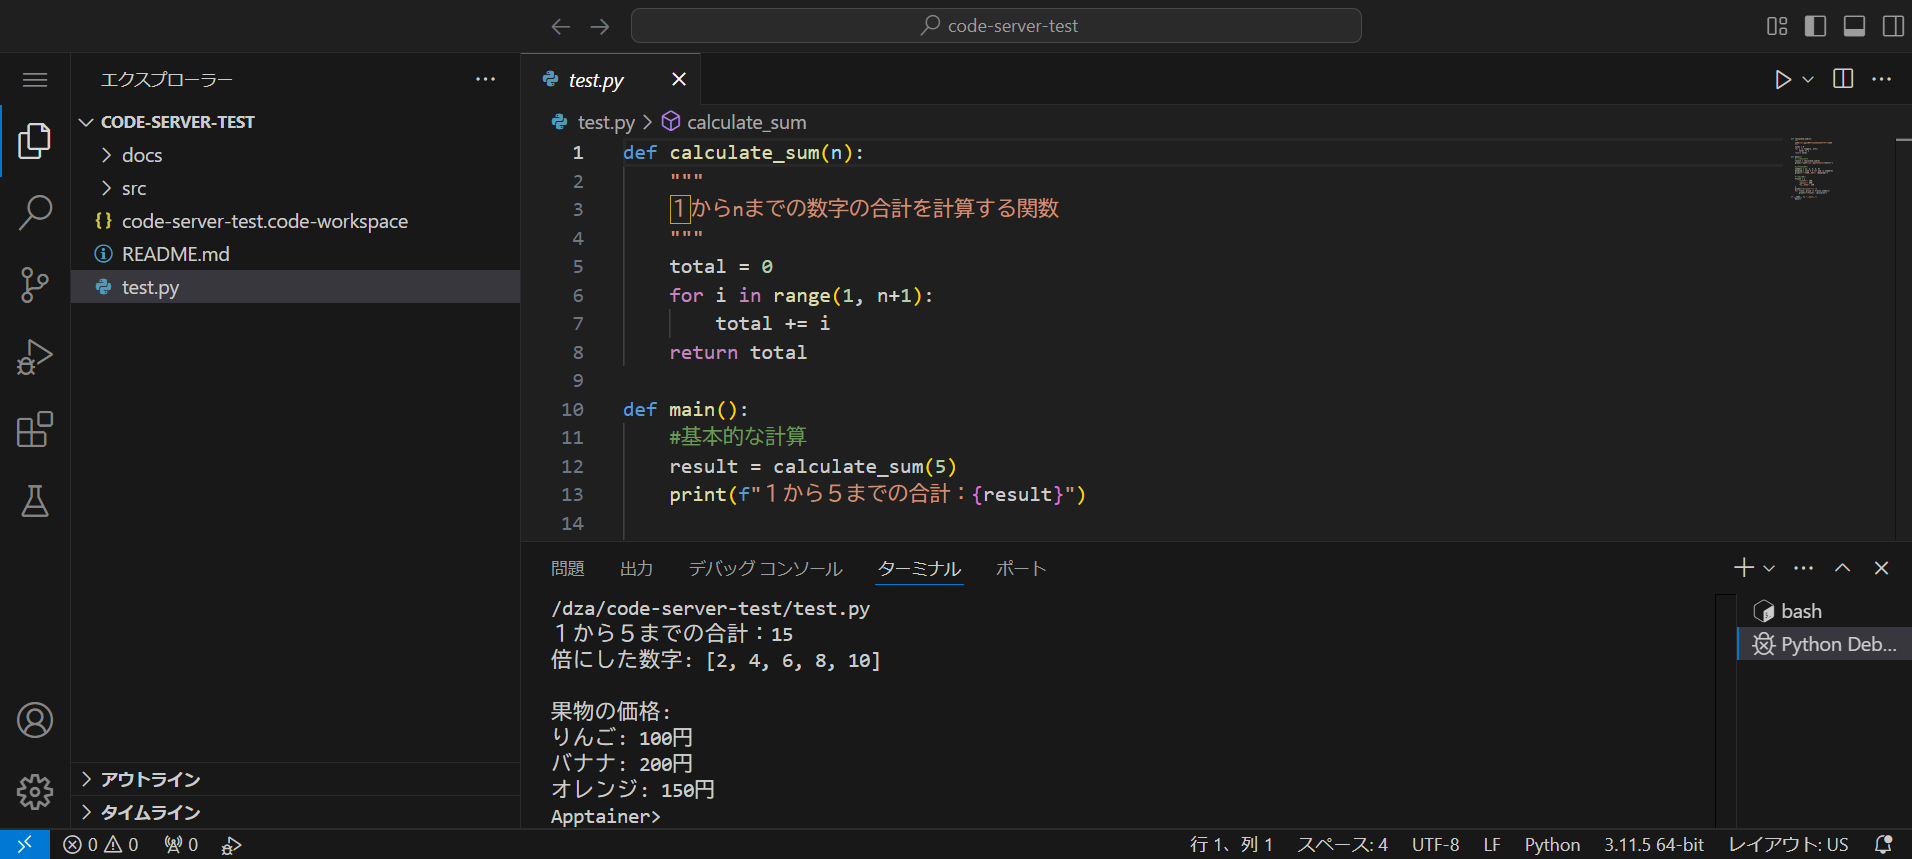
Basic Screen Layout
- Left sidebar: Access various functions including file list and extensions
- Main editor: File editing area
- Bottom panel: Display terminal, output, debug information, etc.
File Operations
- Open file:
- Click file in sidebar file explorer
- Or Ctrl + O to select file - Save file: Ctrl + S
- Create new file: Ctrl + K N
Using Terminal
Command line operations available via terminal:
- Open terminal:
- Select [Terminal] → [New Terminal] from menu
- Or Ctrl + ` (backtick) - Multiple terminals:
- New terminal: [+] button
- Split terminal: [Split Terminal] icon
- Switch terminals: Use menu on right of terminal panel
Extensions
VS Code allows installation of extensions as needed.
Installed extensions persist after session ends.
- Click Extensions icon (four squares) in sidebar
- Enter extension name or keyword in search bar
- Click [Install] on desired extension
Useful Features
- Command palette: Ctrl + Shift + P
- Quick access to all VS Code functions - Find in file: Ctrl + F
- Find in project: Ctrl + Shift + F
Important Notes
- You can reconnect through "My Interactive Sessions" if you accidentally close the browser tab
- Sessions automatically end after the specified usage time